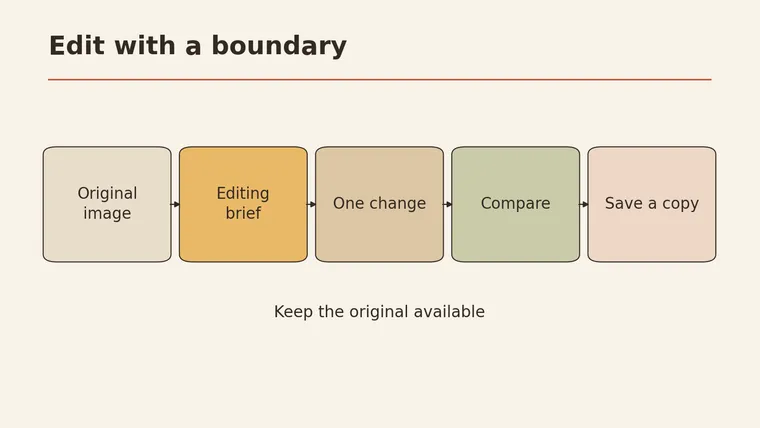
AI photo editing works best when you start from the original photo. Save an untouched copy, choose one small change, and write down what must remain the same before you ask an editor to work on the image. Then compare the result with the original at both full view and close range: a cleaner background is not a success if the subject, its markings, or its shape has quietly changed. Make each adjustment separately, keep versions, and export only after a final check. The prompts and fictional cup example below are designed for practice. No tool was tested.
Choose the editing job
Decide what you want the picture to do. Is a distracting object pulling attention away from your subject? Is the photo too dark? Does it need a different shape to fit a layout? Those are separate jobs. Pick one first so that you can tell which request caused a change.
| Job | Try when | Check before accepting |
|---|---|---|
| Remove background clutter | A nonessential object distracts from the subject | The filled area, its edges and shadows look coherent; nothing important disappeared |
| Adjust lighting | The subject is hard to see | Details and colors remain usable; highlights and shadows have not lost important information |
| Change the frame | You need a different crop or canvas | The subject remains intact; identify any newly generated area |
Different editors offer different capabilities. PhotoGPT’s guide describes text-based object removal, lighting adjustment and combining images in its own editor. That does not mean every editor supports the same jobs or works the same way. For a new tool, check its current documentation and whether you are comfortable uploading the picture.
Editing: make one request at a time
The three prompts below are illustrative instructions written for this article. They assume a fictional photograph of a white cup on a wooden table, with a small paper scrap in the background. The cup has a handle on the right and a blue circular mark. They are not demonstrated outputs or promises of results.
Remove one distraction
In this photo, remove only the small paper scrap behind the cup.
Fill that area to match the nearby tabletop and background.
Keep the cup's right-side handle, blue circular mark, body shape,
position, and the rest of the scene unchanged. Do not add objects.
Afterward, inspect the patched area and the cup’s outline. If the paper overlaps the handle, restoring the original or choosing another picture may be safer than accepting an uncertain reconstruction.
Adjust light
Gently brighten the existing cup photograph so the shaded side
is easier to see. Keep the direction of the original light and
retain detail in the white surface. Do not change the cup's
right-side handle, blue circular mark, shape, or position.
Compare the cup in both images. If the mark fades, the white surface loses detail or the handle changes, reject the edit or adjust the request. A conventional exposure adjustment may be enough if generated changes are unnecessary.
Change the frame
Make a square composition from this cup photograph. Keep the
entire cup, its right-side handle, blue circular mark and body
shape visible. Prefer cropping existing surroundings without
cutting the cup. If a square cannot be made that way, leave the
image unchanged rather than inventing a new background.
Check whether the new frame really includes the whole cup. If extending the canvas is appropriate for your use, explicitly request it in a separate step and label the added area as generated. A square crop or extension may not be supported by every tool.
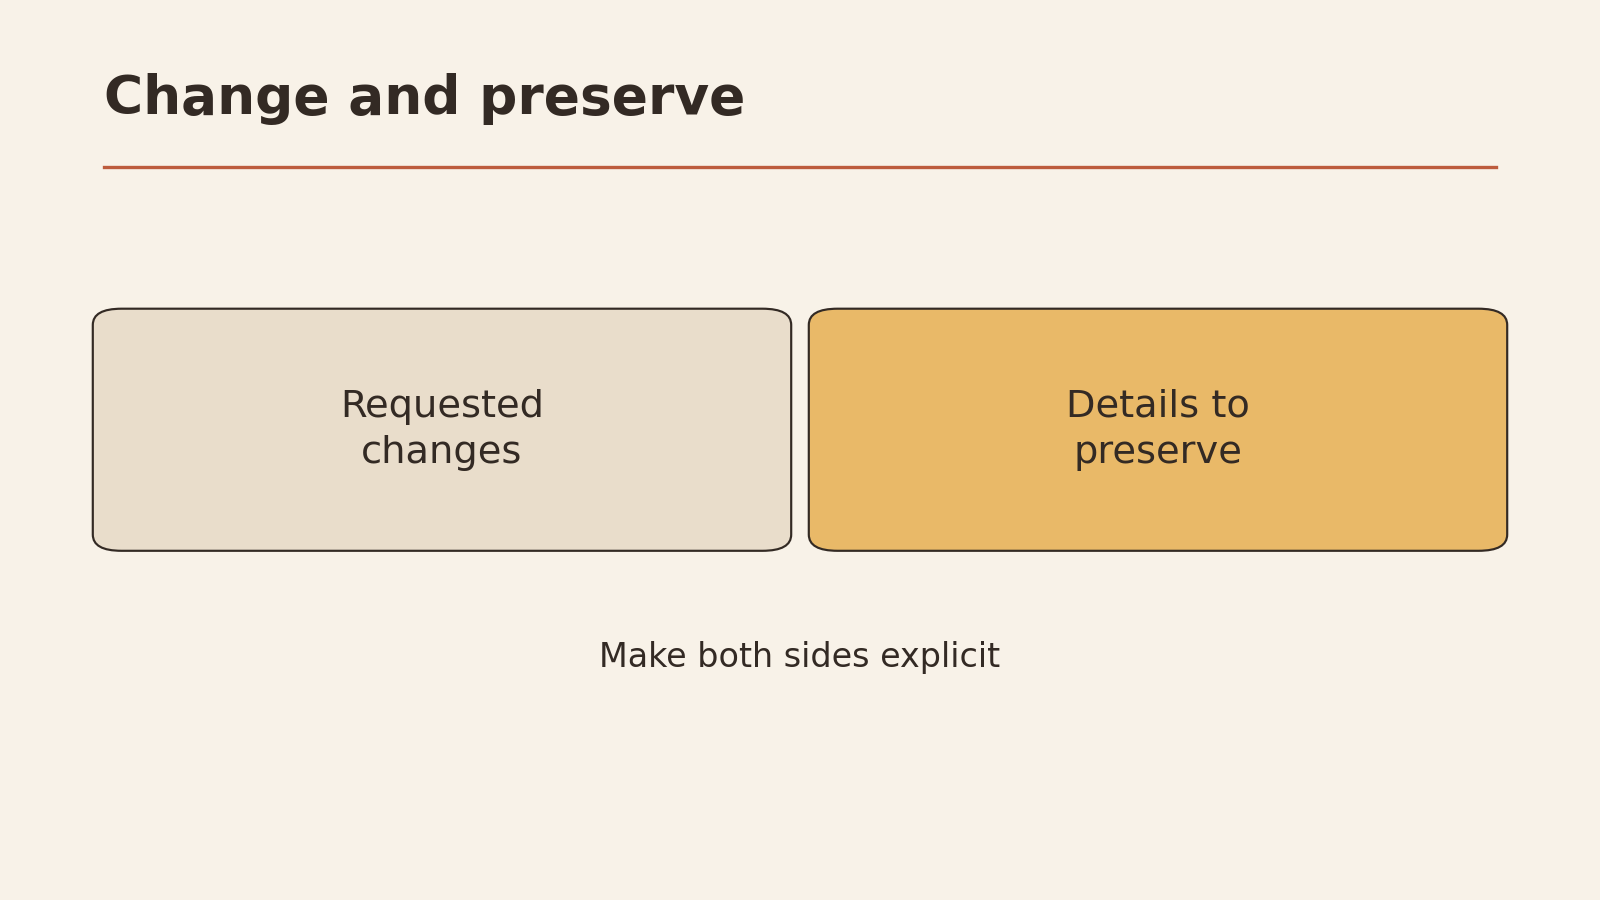
Write what must stay the same
“Keep the cup unchanged” is a useful start, but it is hard to check. Name the details you care about and where they appear. A request is not a guarantee: even a clear instruction requires a comparison.
Use this three-column card, designed for this article, before making your own edit:
| Only change | Must stay the same | How I will judge success |
|---|---|---|
| The paper scrap behind the cup | Handle on the right, blue mark, body shape and placement | Scrap is gone; compare the cup and nearby edges against the original |
| Your edit: ___ | Your protected details: ___ | Your check: ___ |
If a person is the subject, include the features and details that matter to them, and get permission before uploading or sharing their image. Avoid confidential or someone else’s private images unless you have permission and have checked how the service handles them. Never remove ownership marks without authorization.
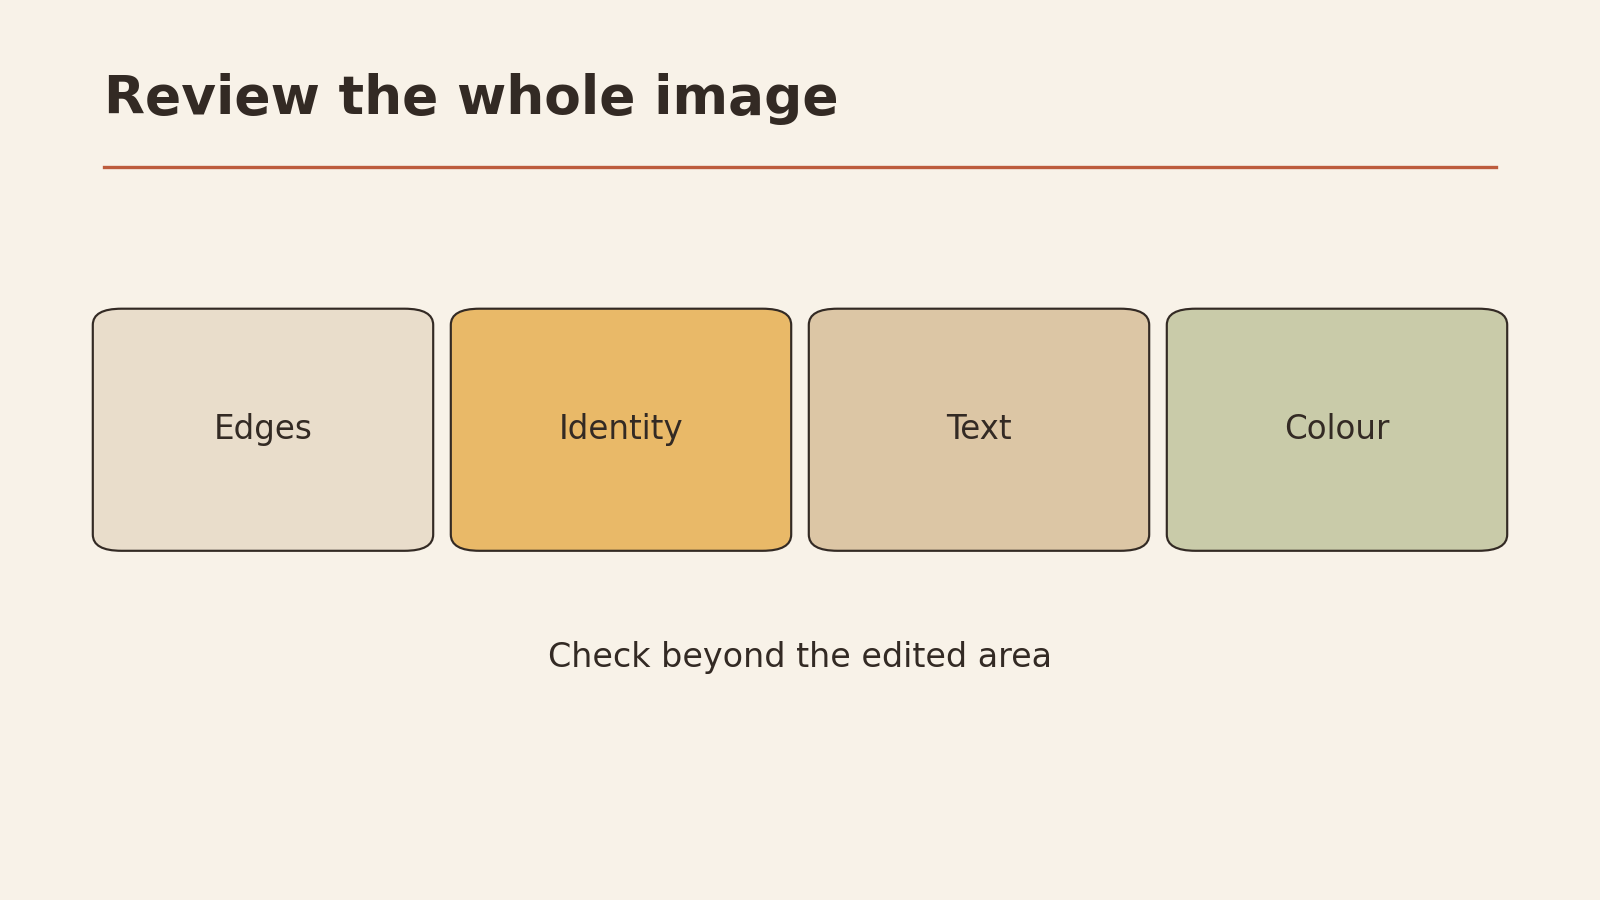
Review the result before moving on
Imagen’s editing workflow includes a human review and adjustment step after AI processing. Use the same principle here: the editor proposes a result; you decide whether it is acceptable.
- Requested change: Did the intended area change, and only in the intended way?
- Protected details: Compare the cup’s handle, blue mark, body outline and position with the original at a similar size.
- Repair area: Look for odd edges, repeated patterns, missing shadows or new objects.
- Whole picture: Zoom out. Does the image still communicate the same scene for its intended use?
- Frame and file: Is the subject intact, and are the size and format suitable for your destination?
If any check fails, go back to the last acceptable version. Narrow the change, correct it with an appropriate non-generative tool, or stop. If you cannot tell whether a key detail is accurate, do not present it as verified.
A repeatable workflow
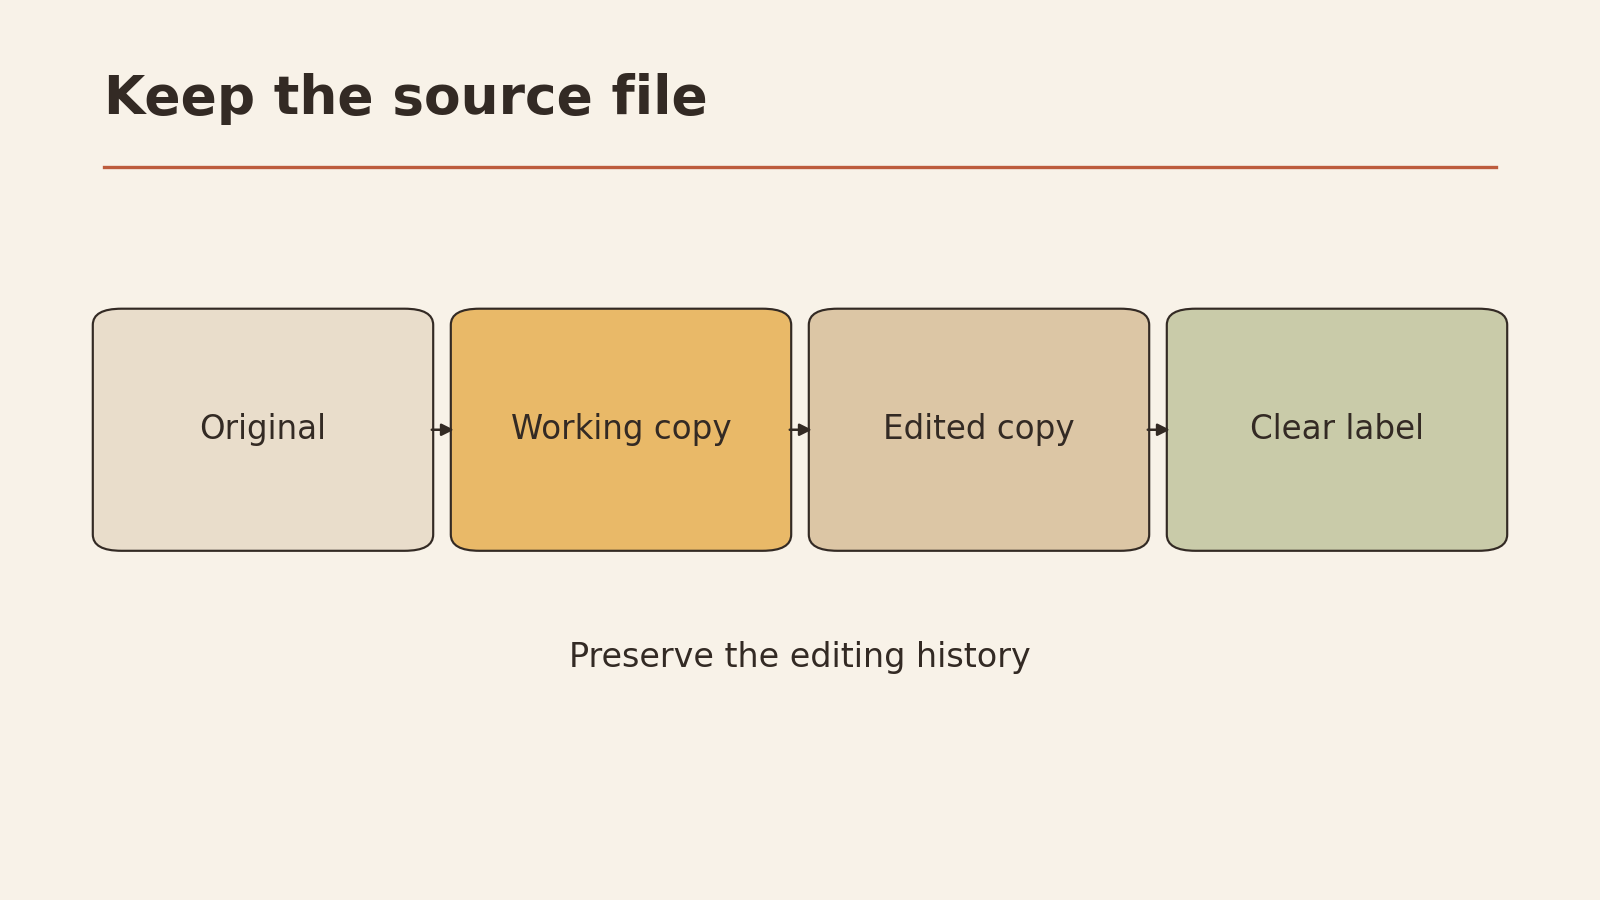
- Save an untouched original and make a working copy. Choose an image you have the right to edit.
- Choose one low-risk task and fill in the three-column card. Identify the area to change and details to protect.
- Check the tool’s documented capabilities and privacy terms. Provide the image and your instruction only if appropriate.
- Review against the original with the checklist. Reject or revise an unsatisfactory result; do not assume another attempt will preserve the details.
- Save an accepted version separately. If another change is needed, repeat the card and comparison before combining edits.
- Export a new file in a format and size suitable for your destination. Reopen it and check the subject, crop and legibility before sharing.
For help making the request clearer, see how to ask better AI questions and the prompt collection.
Keep the original and label the result
Keep the original, your accepted edit and a short note about what changed. For example, an illustrative filename might be “cup-original” and “cup-background-edited”; a sharing note can say “AI-assisted removal of a background object.” If you add generated content, say so in the caption or wherever the audience can see it, and follow the destination’s disclosure rules.
An edited or generated image can change what the picture appears to document. For news, evidence, identity documents or other uses requiring a faithful record, follow the relevant organization’s rules and use an unaltered original where required. Do not pass a composite off as a real event.
Your next step: Pick one photo you own that has no sensitive details. Fill in the three-column card and choose one small, reversible edit. Compare the result with the original before deciding whether to keep it.