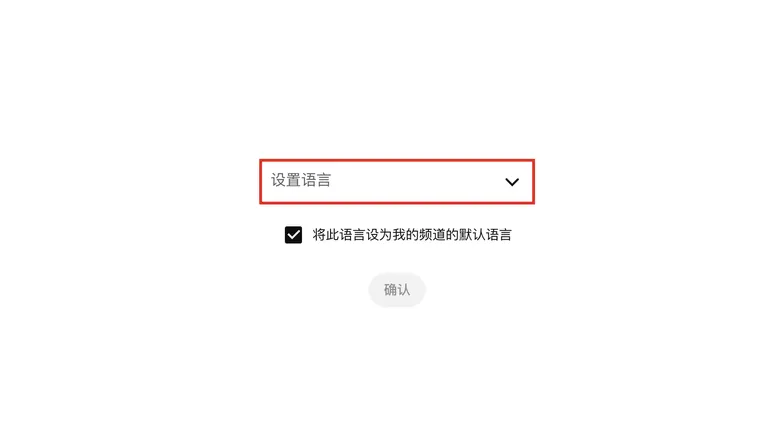
You add subtitles to your own YouTube video in YouTube Studio, not with the CC button on its watch page. In the Studio layout shown here, open Languages / 语言, select the video, set its spoken language if prompted, and then work with that language’s Subtitles entry.
Some accounts and YouTube’s subtitle help pages still call the left-menu section Subtitles. Both names lead to caption management; the watch-page transcript button is a different feature.
1. Open the video and set its spoken language
- Sign in to YouTube Studio for the channel that owns the video.
- Select Languages / 语言, or Subtitles if that is what your menu shows.
- Choose the video.
- If you see Set language / 设置语言, choose the language actually spoken in it.
- Check the channel-default option, then confirm.
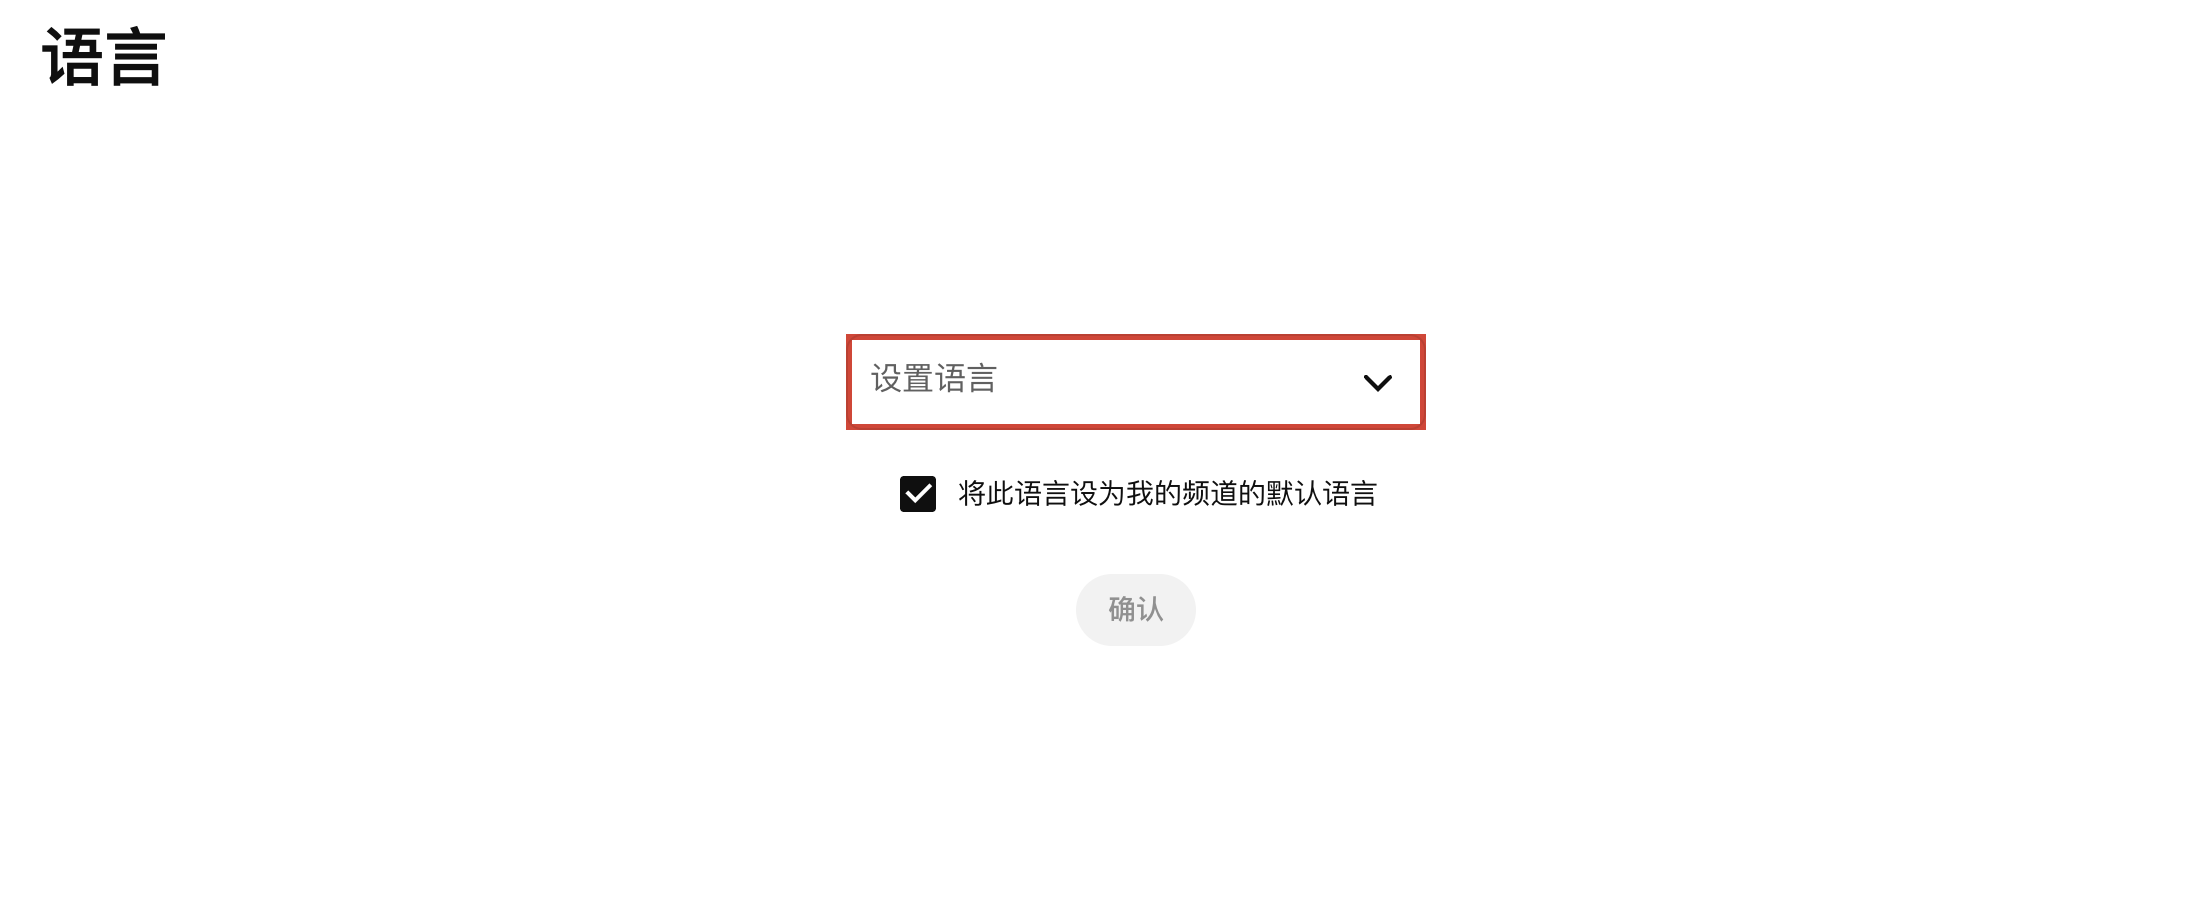
In this screen, “Set this language as my channel default” is a separate checkbox. Untick it if you only intend to change this one video. Choosing a translation language later does not replace the original spoken-language setting.
An incorrect language setting should be corrected, but changing it is not a substitute for reviewing a faulty caption track.
2. Choose how to add the words
If the language you need is not listed, use Add language. In that language’s Subtitles entry, choose Add. YouTube’s documented caption-creation workflow offers these methods:
| Method | Choose it when | What you need to check |
|---|---|---|
| Upload file → With timing | You already have an SRT, VTT, SBV, or another supported timed file | File syntax, language, and timing |
| Upload file → Without timing | You have a transcript that matches the speech | Whether automatic alignment finishes correctly |
| Auto-sync | You want YouTube to align text with the audio | Matching words and language; audio quality |
| Type manually | The clip is short or you need to enter the text yourself | Wording, sound cues, and timing |
If YouTube has already created an automatic track, correcting it may be easier than starting again.
3. Upload a file with timing
Choose Upload file → With timing → Continue, select your file, then use the save or publication control shown by the editor.
A timed file contains both the words and when they appear. Use a plain-text file in a supported format. A document containing ordinary paragraphs is not an SRT merely because you rename it.
Before finishing, check a spoken passage at the start, middle, and end. Pay attention to names, numbers, lines that appear late, and captions that overlap important text in the picture.
4. Use automatic alignment only for matching text
Auto-sync and Without timing start from words without complete cue timing. The transcript should match the spoken language and the words in the audio. A Spanish translation is not a matching transcript of English speech.
YouTube advises against transcript syncing for videos over an hour or recordings with poor audio. If alignment drifts, use a timed subtitle file or adjust the timing in a subtitle editor.
⚠️ YouTube’s help says an Auto-sync transcript can publish automatically when processing finishes. Do not assume it will remain a draft awaiting another click. Review the text before starting that workflow.
If processing is still running, wait and check the track list before submitting the same file again.
5. Review manual captions as captions, not just a transcript
With Type manually, enter the dialogue and useful sound cues, such as [door closes] or [applause]. Check the timings before publishing.
Keep speaker names when viewers could otherwise confuse who is speaking. A silent viewing pass helps reveal information that dialogue-only captions miss. The accessibility guide explains what to include.
✅ Before calling the job finished, open the video as a viewer, turn captions on, select the intended language, and replay the lines you changed. A saved track and a usable published track are not the same check.
If a teammate will handle the work, use an appropriate channel permission such as Subtitle Editor. The video language must be set for that role to work on it.