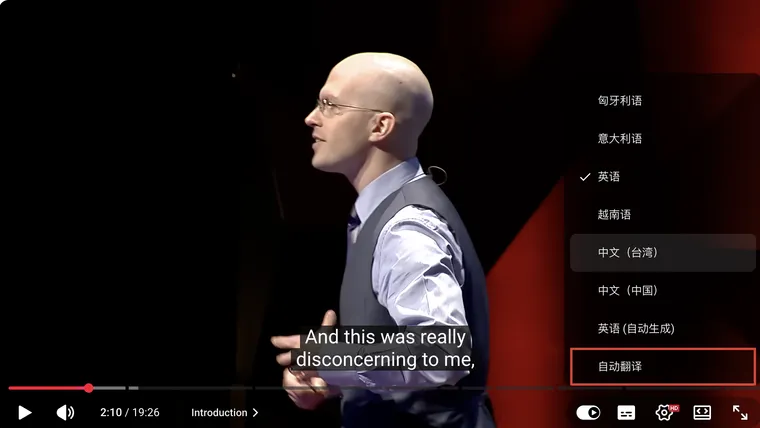
YouTube’s ordinary caption menu selects one track at a time. To study with the original and a translation, you can switch tracks, keep two versions beside each other in notes, or use a tool that offers an aligned bilingual view.
A creator can also publish a single track containing both languages, or burn bilingual text into the picture. Those are different from YouTube displaying two independently selected tracks.
1. Choose the original-language track first
Open gear → Subtitles/CC / 字幕. Choose the language being spoken and check whether the track is marked auto-generated / 自动生成.
The original text is your reference. If a name or phrase looks wrong, replay the audio before trying to learn it.
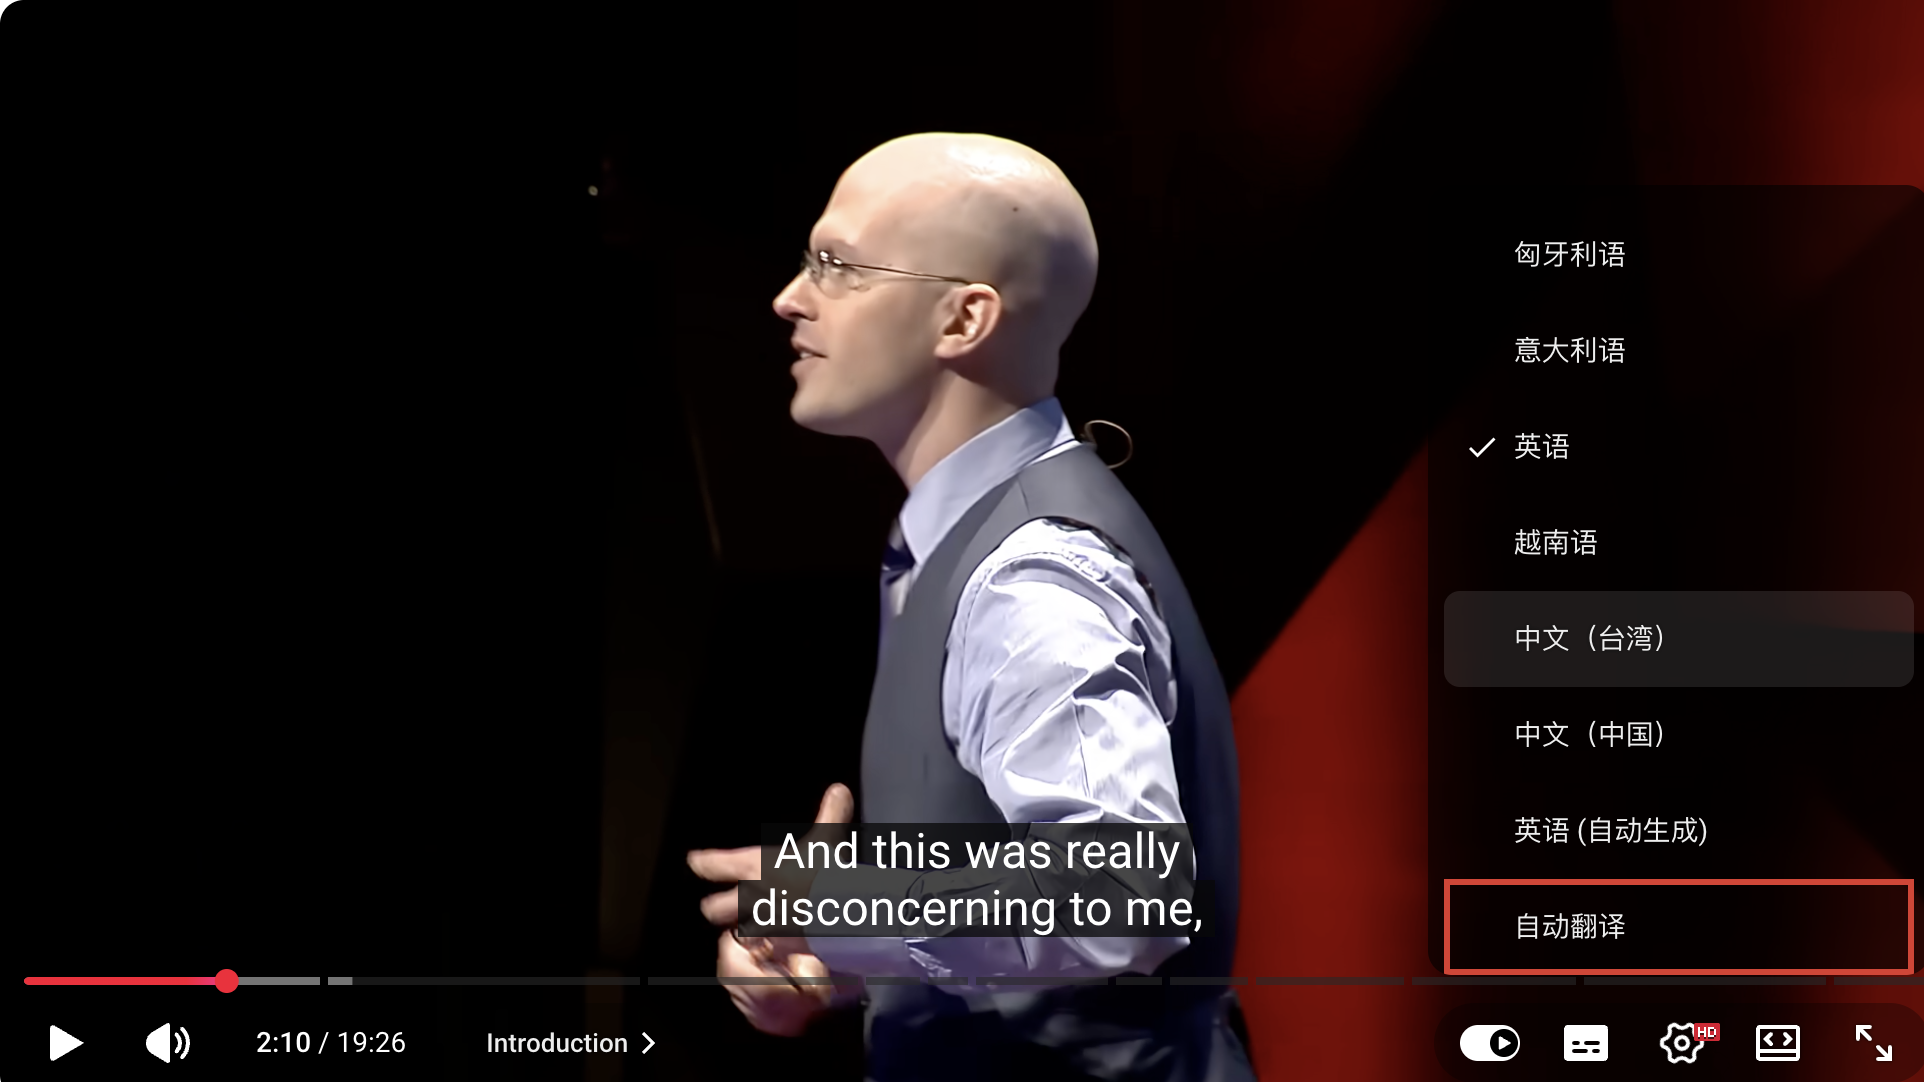
If a supplied translation in your language is already listed, try that before using automatic translation. A supplied track can still contain mistakes; its label is not proof of a human review.
2. Choose a way to use both languages
| Method | What you do | Main limit |
|---|---|---|
| Switch inside YouTube | Watch in the original; switch to a translated track or Auto-translate when needed | The normal selector uses one track at a time. |
| Keep two texts in notes | Put original sentences beside their translations and keep timestamps | They do not automatically follow playback. |
| Use a bilingual subtitle or transcript tool | Configure an original language and a target language, then check the alignment | Support depends on the tool, browser, and video. |
A bilingual file can place both languages in one cue. That still counts as one caption track. Keep the lines short enough to read in the time available.
💡 Two visible languages do not always mean two caption tracks. One language might be part of the video picture, or both may have been authored into a single subtitle cue.
3. Use translation as a check, not a replacement
For a difficult sentence:
- Listen once without reading.
- Replay it with the original captions.
- Check the translation.
- Replay it again while focusing on the words you missed.
In YouTube, choose Auto-translate / 自动翻译 only after selecting a usable source track. Then choose the target language from the offered list. The translation guide explains how this differs from creator-uploaded translations.
Page translation in a browser is a separate feature. Translating a title or comments does not establish which caption language the player is using.
4. Keep sentences and replayable links in your vocabulary notes
Save more than a word and its dictionary meaning:
Word: reckon
Sentence: I reckon we'll finish by Friday.
Meaning in this sentence: think or expect
Video URL: https://www.youtube.com/watch?v=VIDEO_ID&t=754
Caption language: English
Time: 12:34
The sentence is an illustration of the note format, not a quotation from the example video. In your own notes, use the words actually spoken.
On desktop, k pauses, Left/Right seeks about five seconds, and j/l seeks about ten seconds when the player has focus. You can also lower playback speed through the gear menu. See YouTube’s shortcut list.
If a transcript is available, open its text panel and click a line to replay that passage.
5. Check a bilingual tool before relying on it
Look for actual controls for source language, target language, and bilingual display. A tool that supports one fixed language pair may not support yours.
Check what the tool does when captions are missing. Some extract an existing track; others send audio for speech recognition. Also check whether translation requires a separate account or paid service. “Open source” does not guarantee free cloud processing.
⚠️ An AI explanation may add examples or interpretations that the speaker never gave. Save it as an explanation, keep the original sentence beside it, and replay the audio when the two disagree.
No extension is required to begin: switching the original and translated tracks and keeping timestamped notes is enough for a short study session. For longer notes, follow the transcript-to-notes guide.